I've been looking at using a CMS for a while as an alternative to designing websites from scratch. I finally have had a reason to use one (long story) but the short end of it is that it needs to run on Linux. There appear to be three main choices when it comes to open source CMSs:
Note, that they all seem to run on Windows, but that's by the by as Windows servers tend to be more expensive than Linux servers. At any rate, although Ubuntu seems to be the most popular offering among VPS providers, I decided to use CentOS 6.2 because I feel more comfortable with Red Hat based Linux distros.
I did not want to download the whole iso as I'm running on a laptop with limited hard disk space, so I decided to use the Netinstall, which in essence contains a bare bones system and grabs packages as needed. When I say that this is bare bones I'm not kidding, man is not actually installed.
Below are the steps needed to install Joomla on CentOS 6.2 using the netinstall iso, note that I'm running this from a VM using VirtualBox on a Kubuntu 11.10 system:
I have created a script to install Joomla, see this post, note that the script is only for Joomla, you will still need to manually install CentOS/RHEL.
Note that if no screenshot is shown that means that you should use the default values or your own values (e.g. keyboard, time zone, etc.)
I have created a script to install Joomla, see this post, note that the script is only for Joomla, you will still need to manually install CentOS/RHEL.
Note that if no screenshot is shown that means that you should use the default values or your own values (e.g. keyboard, time zone, etc.)
- Download Netinstall iso from http://isoredirect.centos.org/centos/6/isos/i386/ or http://isoredirect.centos.org/centos/6/isos/x86_64/ for 64 bit versions.
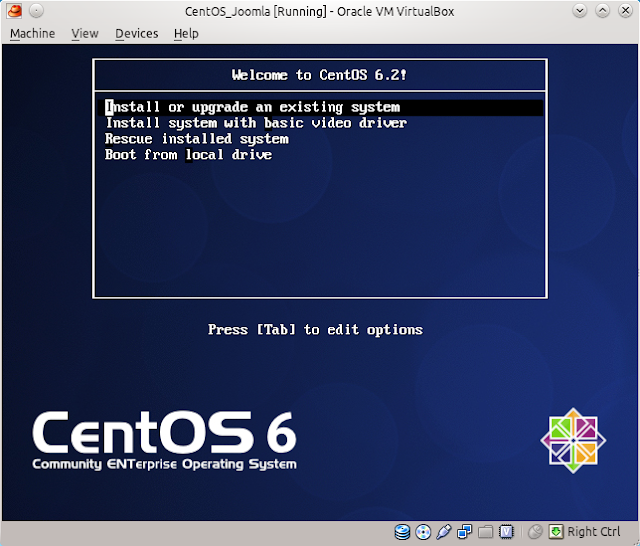
- Start a brand new VM and boot from the iso downloaded in step 1.
- Select Install or upgrade an existing system.
- Select URL and press OK.
- Enter http://mirror.centos.org/centos/6.2/os/i386/or http://mirror.centos.org/centos/6.2/os/x86_64/ for the 64 bit version.
- I only gave 512 MB of ram to the VM, which meant that the TUI installer ran instead of a graphical interface.
- After selecting the hard drive, I received this prompt. Select Re-Initialize All.
- Once the installation has finished and you are back into your system (remember to remove the mounted iso) I decided to install not only mandatory packages but also optional so I added this line to /etc/yum.conf:
group_package_types=default,mandatory,optional
- Install Apache:
yum groupinstall "Web Server"
- Install MySQL:
yum groupinstall "MySQL Database server"
- Install wget, man, php-mysql, unzip and policycoreutils-python (see step 26 about this package):
yum install man wget php php-mysql unzip policycoreutils-python -y
- Create a temporary directory to extract and download Joomla:
mkdir /joomla; cd /joomla
- Download Joomla (note that this is likely to change, check here for the latest version):
wget http://joomlacode.org/gf/download/frsrelease/16024/69674/Joomla_1.7.3-Stable-Full_Package.zip
- Extract downloaded package:
unzip Joomla_1.7.3-Stable-Full_Package.zip
- Move all files to home web directory:
mv /joomla/* /var/www/html
- Start MySQL and set it to start at boot time:
service mysqld start; chkconfig mysqld on
- Set root's password to MySQL and get MySQL production-ready (Essentially type Y to everything):
/usr/bin/mysql_secure_installation
- Create Joomla User:
mysql -u root -p
CREATE USER 'JoomlaUser'@'localhost' IDENTIFIED BY 'mypass'; - Create Joomla Database:
mysqladmin -u root -p create Joomla
- Provide appropriate privileges to the JoomlaUser user:
mysql -u root -p
GRANT ALL PRIVILEGES ON Joomla.*
TO JoomlaUser@localhost IDENTIFIED BY 'mypass';
where:
'Joomla' is the name of your database
'JoomlaUser@localhost' is the userid of your webserver MySQL account
'mypass' is the password required to log in as the MySQL user - Apply privileges and exit:
flush privileges; \q
- Open Firewall for port 80 and save changes:
iptables -I INPUT -p tcp --dport http -j ACCEPT ; service iptables save
- Turn output buffering off by editing /etc/php.ini change:
output_buffering=4096
to
output_buffering=Off - Create empty configuration.php file and set permissions:
touch /var/www/html/configuration.php
chmod 666 /var/www/html/configuration.php - Start Apache and set it to start on boot:
service httpd start; chkconfig httpd on
- Disable SELinux (I recommend having a look at this post for a fix that will allow you to run SELinux and Joomla. Do ensure that you test everything that you are likely and unlikely to do, e.g. add articles, add blogs, etc..). Alternatively edit /etc/selinux/config and change:
SELINUX=enforcing
to
SELINUX=disabled - Start the Joomla install proper by navigating to:
http://<yourserverip>
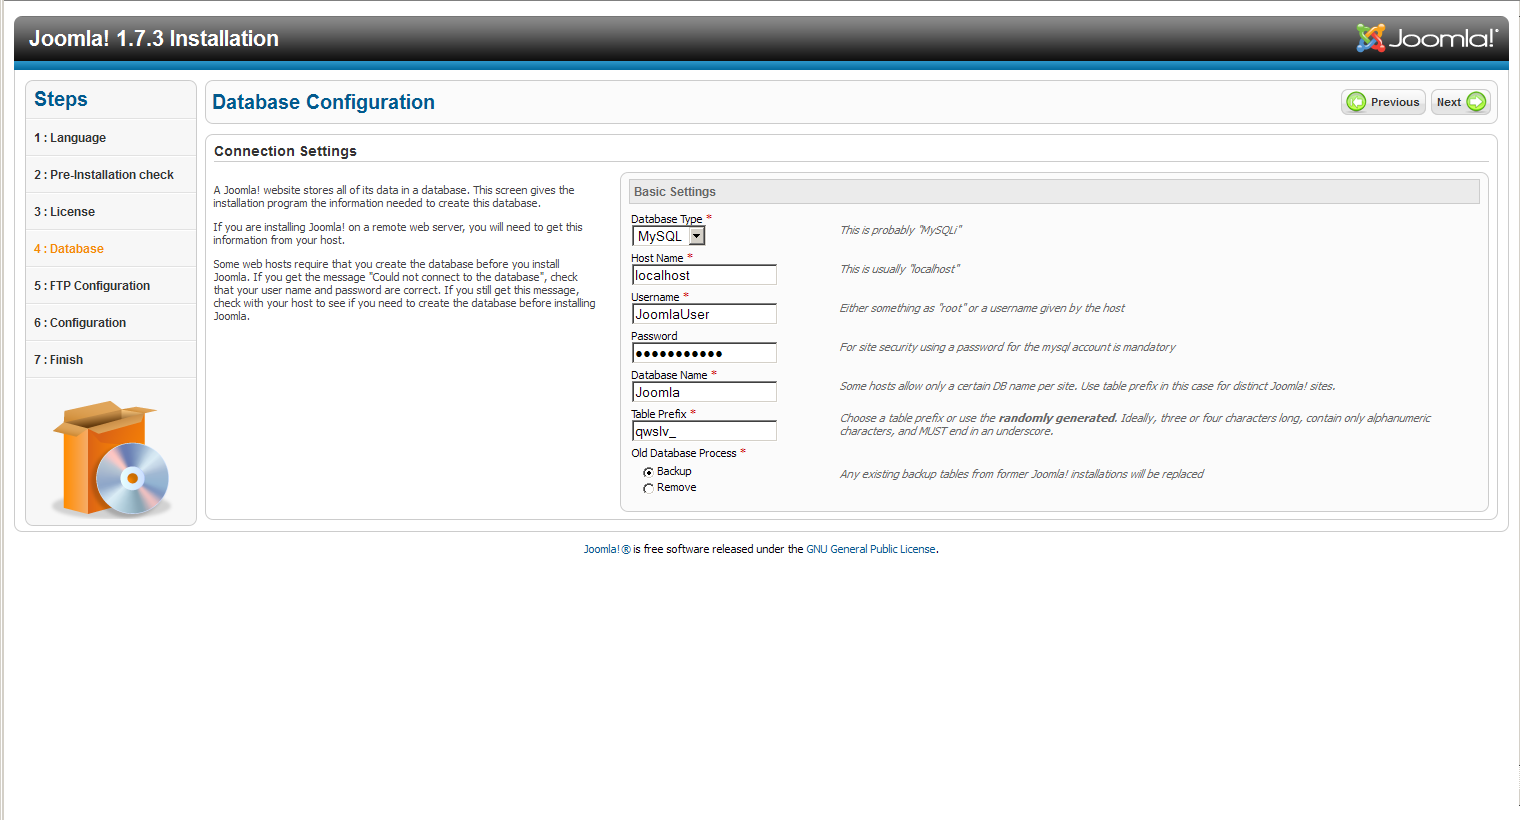
- On step 4 use the following settings:
- I chose to install the sample data on step 6.
- Ensure that you remove the installation directory
rm -rf /var/www/html/installation/
- You can now go and administer your site or view the sample sites if you chose to install the sample data. Enjoy!


Note that if if you do decide to use SELinux, see step 26, you need an extra step to change the context for the Joomla files:
chcon -R unconfined_u:object_r:httpd_sys_content_t:s0 /var/www/html/
Excellent article. Used it to install Joomla 1.7.3 on an AWS instance and it works perfectly.
ReplyDeleteThanks...
I'm glad you found it useful
DeleteHi many
ReplyDeleteworked perfect for me with a 2.5.4 installation of joomla. Thanks for the precise description!
rvw
P.S. After point 26) the apache main page appeared. I needed to reboot the server in order to access the joomla installation web-page.
This comment has been removed by a blog administrator.
ReplyDeleteReally good article, Working perfect for 2.5.6 Joomla
ReplyDelete